
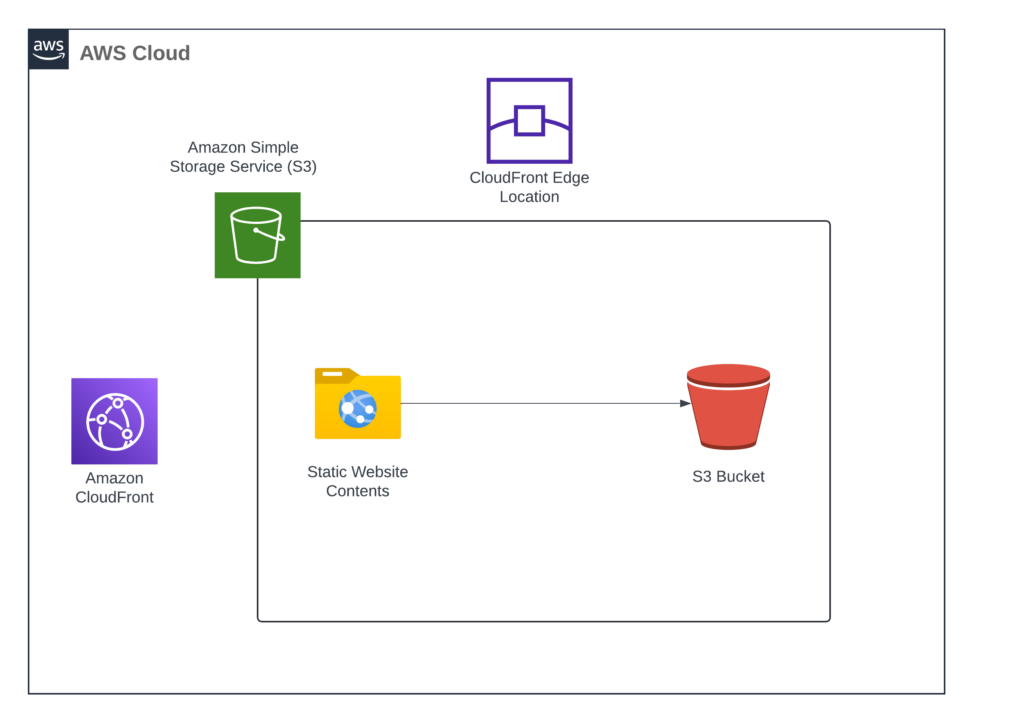
Amazon S3 and CloudFront offers easy on budget and easy to configure and setup a static website. If you simply wish to have a simple portfolio website or personal website that works like your online visiting card, content of which do not change so frequently, then this blog is for you.
Initially we setup on Amazon Simple Storage Service to basically store the website files for top notch security, quick, safe from any kind of data loss and can handle huge traffic. After that we will use Amazon CloudFront for content delivery network that will deliver our content of website to visitors. CDN works on the concept of edge locations, the data centers from different parts of globe so that it will reduce latency and enhance the overall speed of website. The high-res photo or video content opens up in flash if we setup CDN correctly.
Let’s deep dive into configuration steps:
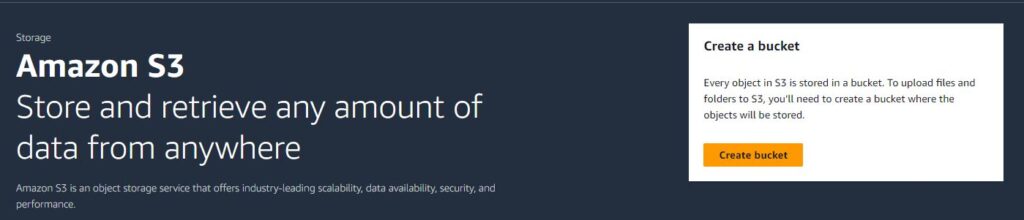
- First login into your AWS account management console and search for S3. Then start-off by creating a bucket.
2. Now select the region “US West (Oregon) us-west-2” and give globally unique bucket name like “sakesh-bucket-7-1-2024”

It is very important to give unique bucket name also it must be DNS compliant like, should be lowercase, and at between 3-63 characters, can contain numbers, dash, periods, hyphens and cant be like ip address.
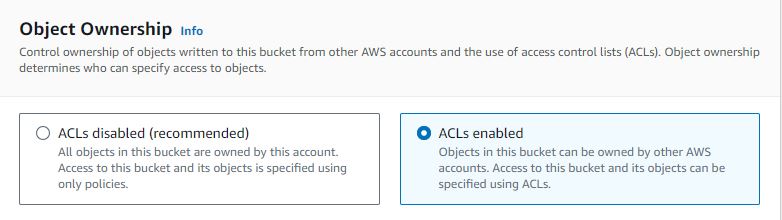
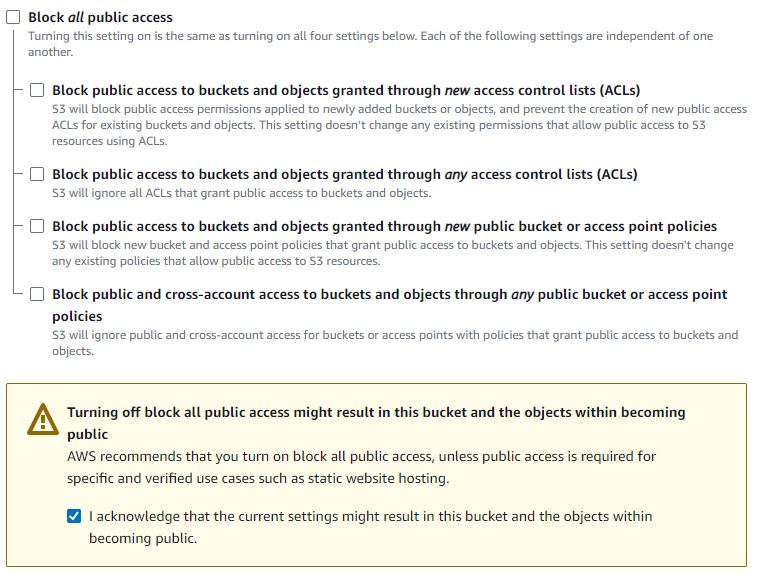
3. By default ACLs are disabled but now ensure that ACLs are enabled and uncheck block all public access check.
4. Now leave other things as default and click on create bucket.

5. On the General purpose bucket list you will see the bucket that you have created just now. Click on that bucket link and go to properties tab. In this place we get to configure bucket versioning where old versions and objects can be updated, choose default encryption methods, manage server access logging and even setup requester pays where the people downloading the data will pay for data transfer costs.
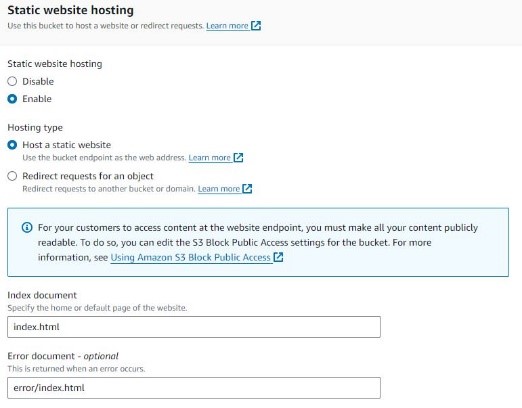
6. But now, to achieve our goal, we scroll down the page and just enable the static website hosting option. As soon as we click on enable we can setup the name of index.html file and error document. Click on save changes.
7. Next to our S3 bucket properties tab we will now switch to permissions tab. And edit our bucket policy. Paste the following code and ensure you change the bucket name at end of “Resource”: section below:
{
  "Version": "2012-10-17",
  "Statement": [
    {
      "Sid": "AddPerm",
      "Effect": "Allow",
      "Principal": "*",
      "Action": "s3:GetObject",
      "Resource": "arn:aws:s3:::sakesh-bucket-1-7-2024/*"
    }
  ]
}
8. The above policy will allow public access to objects in our S3 bucket. And we will save these changes.
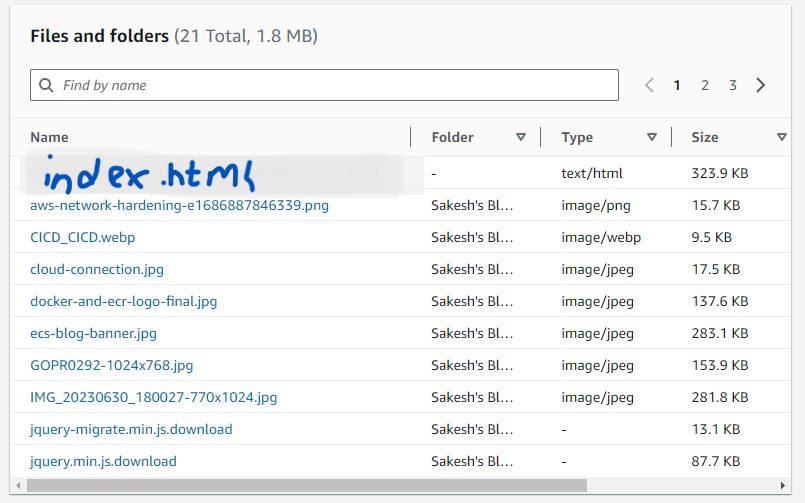
9. Now we will download zip from my github containing one sample static website from the web, click here.
10. Switch to objects tab and click on upload. Drag and drop the extracted file and folders and click upload.
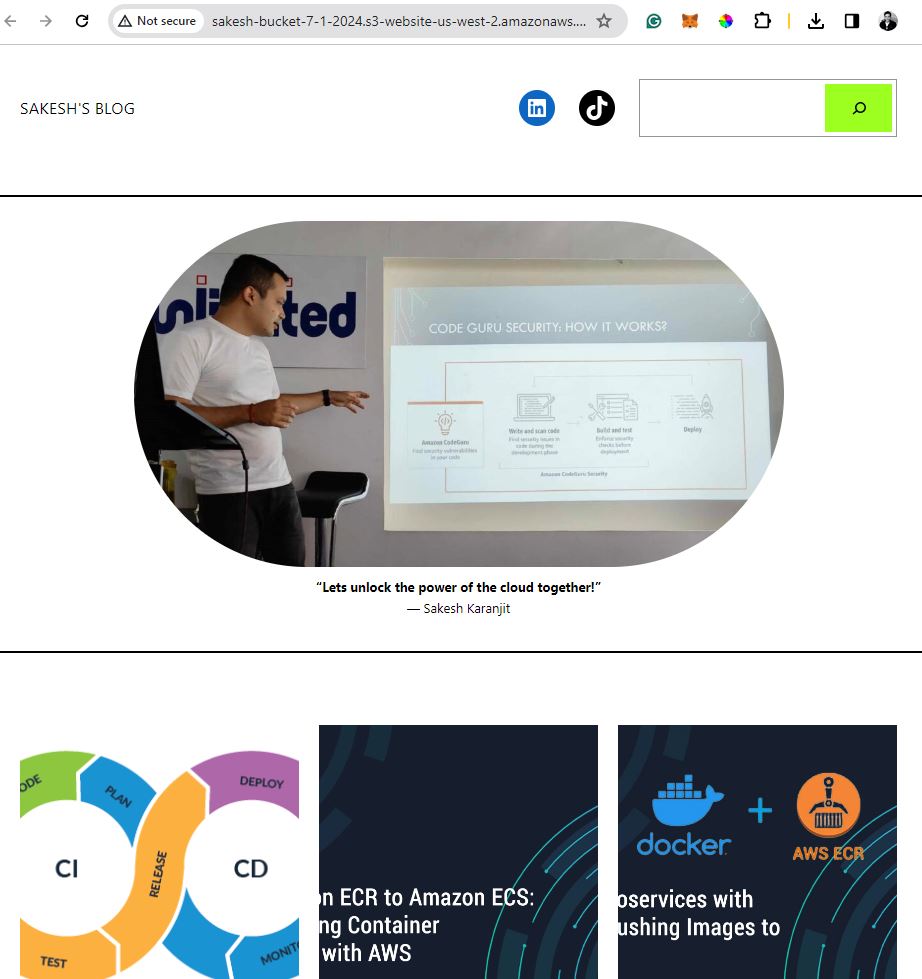
11. Then to retrieve the endpoint of the bucket, go to properties and click on bucket website endpoint:
http://sakesh-bucket-7-1-2024.s3-website-us-west-2.amazonaws.com
Paste this endpoint to your browser and you will see this:
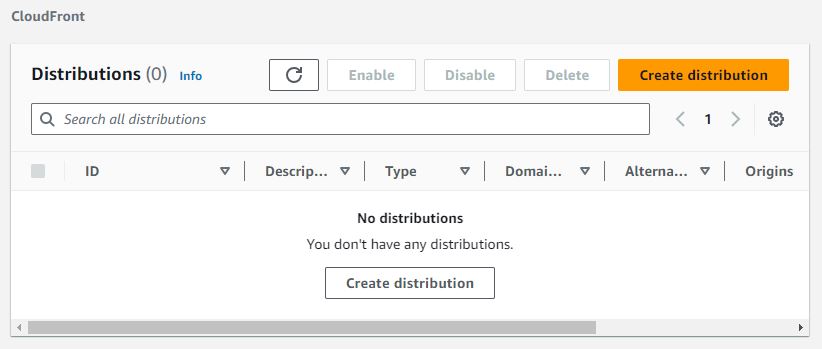
12. We will now go to services and select CloudFront and create distribution
13. Select the origin domain that starts with your bucketname and ends with s3.us-west-2.amazonaws.com.
14. Just slightly below, check on origin access control settings (recommended)
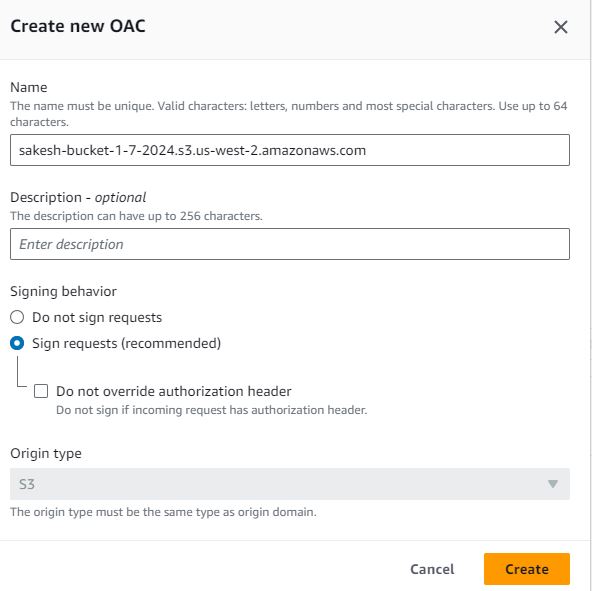
15. Now click on Create new OAC and on the popup screen, click create.
16. Leave Default cache behavior and function associations as default.
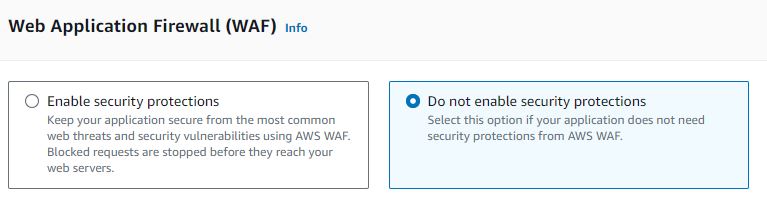
17. In the Web Application Firewall, check Do not enable security protections.
18. Scroll down and under Settings, select Use only North America and Europe. This helps to reduce your price, but if you need best performance from all around the globe, then choose use all edge locations.
19. Under Default root object, give the name of index.html file. And create distribution.
20. Now you will see the yellowish copy policy option. This policy will block all public access to S3 bucket but gives access to website via distribution.

21. Go back to S3 console, your bucket and permissions, in the bucket policy, paste the bucket policy that you just copied. Save the changes.
22. Now edit the block public access settings and check the block all public access. Confirm the settings.
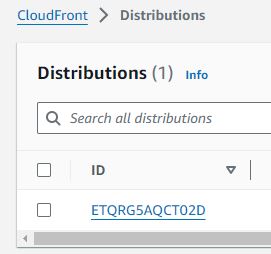
23. Switch to tab with Amazon Cloudfront and distributions. Click on your distribution and copy the Distribution domain name
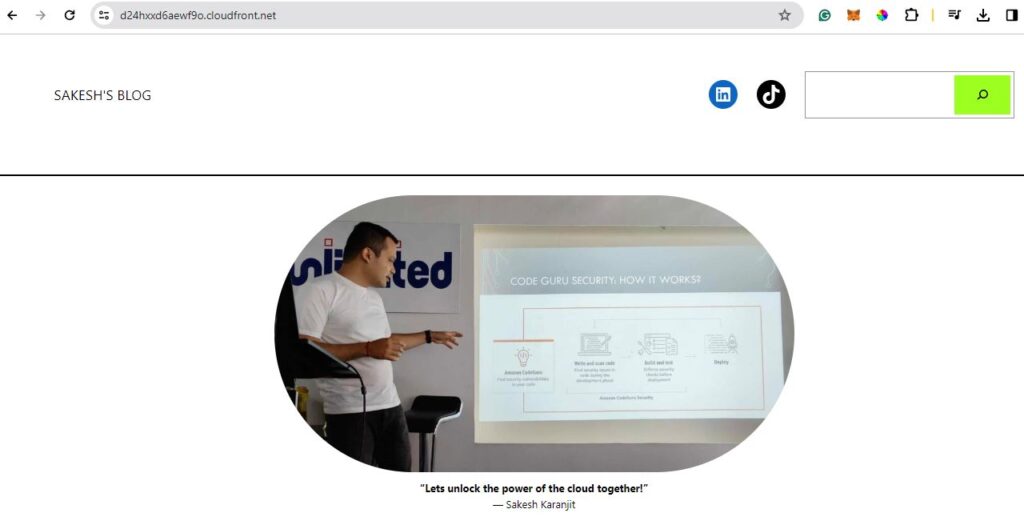
24. Paste it into the browser’s new tab and we will see the website that we uploaded to S3 access through Cloudfront distribution.
In this blog, we went through step by step guide to host a static website on Amazon S3 and content delivery through Amazon CloudFront. Try out these steps, and let me know if you have any questions or queries. Let’s connect on Linkedin.
Leave a Reply