First let’s try to briefly understand AWS Lambda, Target Groups, and Application Load Balancer with an easy comparative example. Let’s suppose we have one coffee stall. AWS Lambda is a coffee making machine that makes coffee only when it gets orders from someone, meaning it does not run all the time which saves cost and time. Likewise, Target groups are like list of various brands of coffee stalls with who are ready to serve customers. And Application Load Balancer is like a staff at main gate who sees where are customers are coming from and sends them to nearest coffee stall so that everyone gets served quickly.
From above example we understood that Lambda is a function that runs specific tasks of application only when needed. Like if there is form on application, it runs only when users submits a form to save data on database without running the server all the time. Target groups on the other hand are group of servers or containers that handles specific part of application. Like if we have login feature and product catalog, after setting up specific rules, we can have one target group for requests coming for login and another for showing the catalog. Application load balancer as the name suggests, distributes traffic or the user requests by checking the type of request and forwards it to correct target group or lambda function.
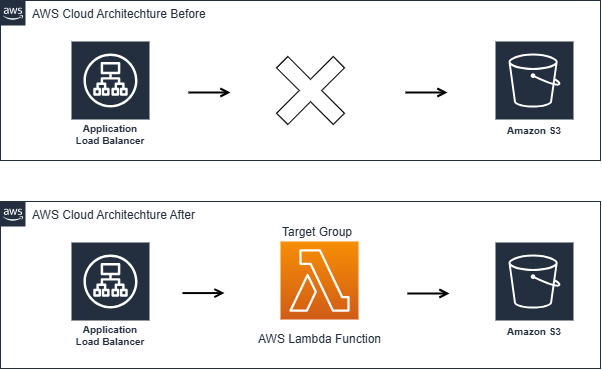
In this blog, we will learn to create a lambda function and then a target group that serves HTTP requests to application load balancer. This lets us create serverless application using AWS Lambda and setup ALB to handle and direct the user requests over the web. In step by step guide, we will first retrieve HTML file form s3 bucket using lambda and configure listener rule and target group to allow ALB to invoke our lambda function.
Step 1:
First we log in to the AWS management console and host a static HTML file in S3 bucket.

Step 2:
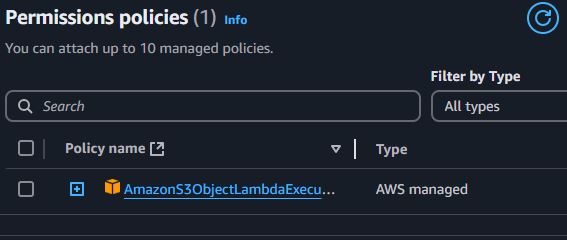
Create lamda execution role in IAM that has attached policy and gives permission to lambda function to get files from S3

Step 3:
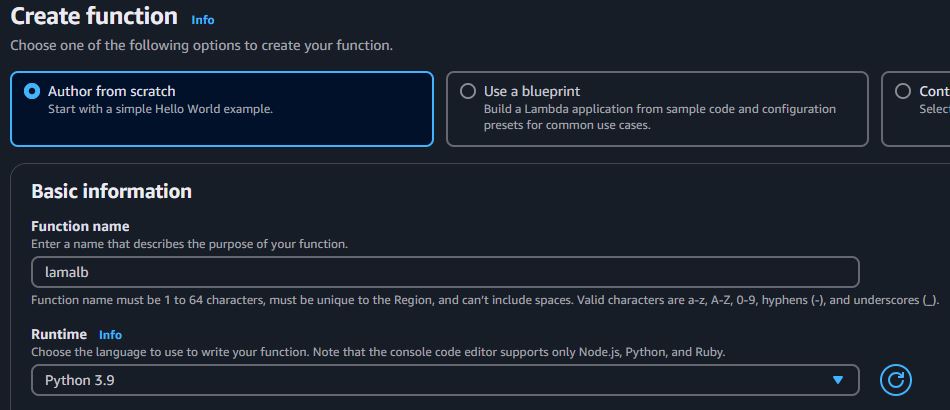
Go to Lambda and create function that fetches HTML index file from S3 bucket that we created in step 1.

- Select Author from scratch
- Give lambda function name ‘lamalb’
- Select runtime ‘python 3.9’
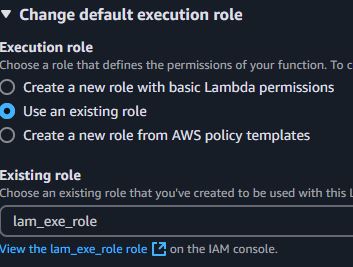
Select the existing role that we created in step 2. has attached policy and gives permission to lambda function to get files from S3.
Click on create function on bottom right of the console.

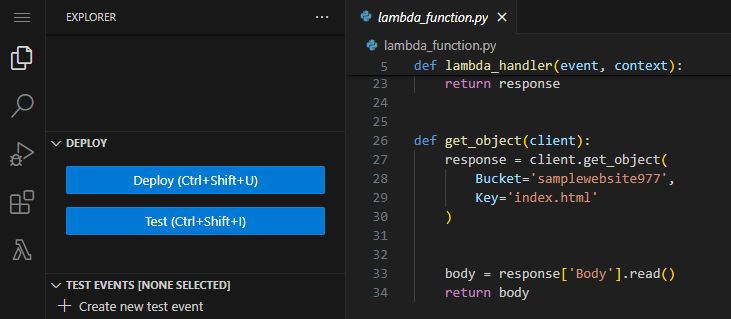
After creating the lambda function, scroll down to code source then c opy the following code in lamda_function.py code source environment tab:
import boto3
import botocore

def lambda_handler(event, context):
    client = boto3.client('s3')


    html = get_object(client)


    response = {
        'statusCode': 200,
        'statusDescription': '200 OK',
        'isBase64Encoded': False,
        'headers': {
            'Content-Type': 'text/html'
        },
        'body': html
    }


    return response

def get_object(client):
    response = client.get_object(
        Bucket='samplewebsite977',
        Key='index.html'
    )


    body = response['Body'].read()
    return body
In this code, the function get_object() is called to retrieve an index.html file from the S3 Bucket. And a response object containing the HTML file is defined and returned to the ALB. And the last get_object() function makes a get object call to S3 to retrieve the HTML file.
Click on deploy to move ahead to next step.
Step 4:
Now we will setup ALB listener rule and target group to invoke the lambda function that we just deployed and display the html file through web.
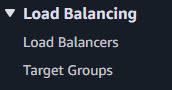
In our AWS management console click on EC2 then after scrolling down on left side, we see the target groups. We will create a target group by clicking create target group.
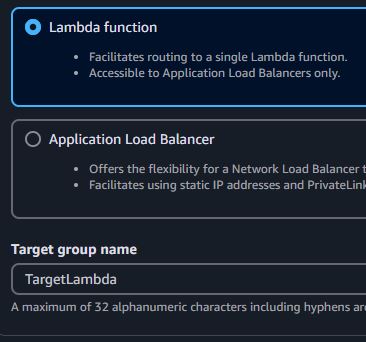
We will choose the Lambda function target type. Give name to target group: “TargetLambda”.
Enable the health checks and leave the default values as it is.This health checks allows this target group to send requests to lambda function time and again to see if its alright.

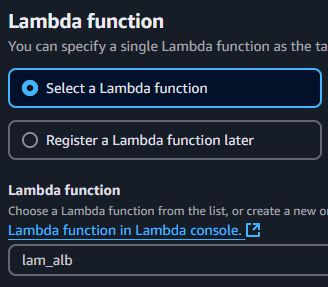
Now we will click next and select the lambda function that we created before from drop down menu and finally click on create target group.

Step 5:
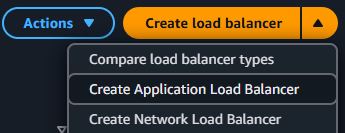
In this step will create the load balancer and add listener rules to it. First we will create the load balancer from the left side menu on EC2 dashboard.
On load balancer types, we will choose Application Load Balancer as we are setting up for http traffic.
Click on create, then give a load balancer name “alb-lam”.
Check on internet facing scheme, ipv4 address type.

Select the default VPC or we can create a new one. One thing to keep in mind here is the selected VPC is also the same place where load balancer targets must be hosted unless routing to lambda or on-premises targets.
On mappings, select any two availability zones.

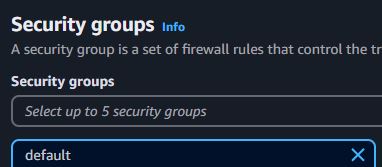
Select the security group that has at least port 80 open.
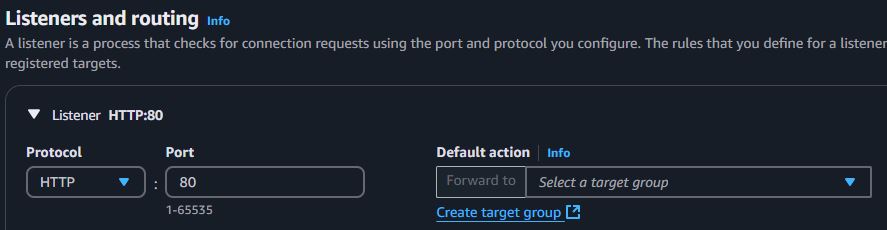
Then finally we will setup listener and routing where we will select HTTP protocol with port 80 and default action as forward to “TargetLambda” target group that we created earlier.
Leave other functionality as it is as we dont need to set up cloudfront, AWS Web Application Firewall and AWS Global Accelerator for now.
See the summary and click on “Create load balancer” at bottom right of the screen to create a load balancer.

Step 6:
On load balancer dashboard, we will click on just created load balancer and ensure the status is active, then there will be DNS name displayed on details screen.

Finally we will copy that DNS name and paste it on our web browser new tab. The HTML page will be displayed receiving the content served from lamda function.
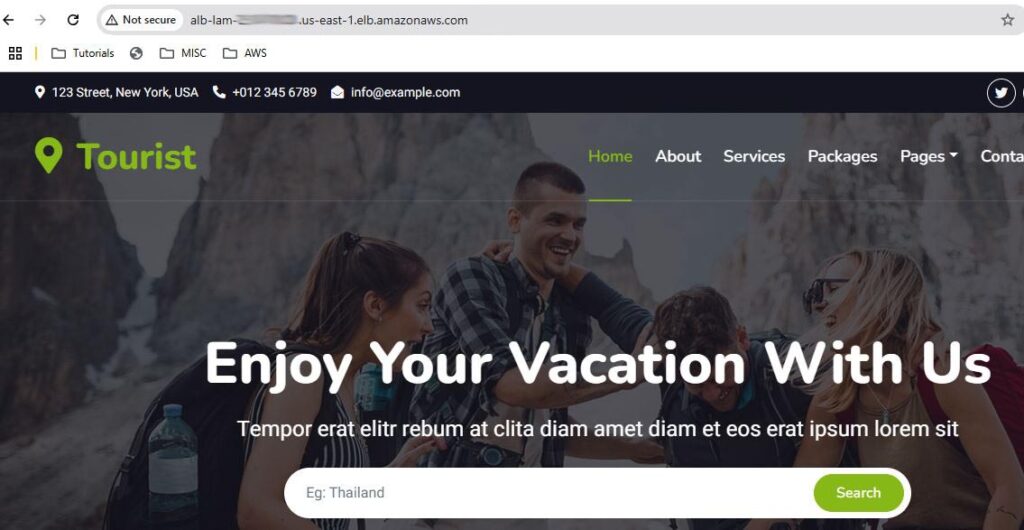
In this way, we hosted a static HTML file in an S3 bucket, created a Lambda function to fetch the file, and configured the ALB to route web traffic to the Lambda function. Following these steps we can eliminate the need for managing servers, making it an efficient and scalable solution for serving web content.
Leave a Reply